
Aluratek Digital Photo Frame Troubleshooting
Aluratek is an amazing example of our advanced technology and you have done a great job if you chose Aluratek digital photo frame as it is one of the best among the photo frame technologies currently present in the market. With the high technology that Aluratek digital photo frame offers, you can have access to pictures and videos with a single tap of your finger.
However, if you are an active user of this product, it may be a little difficult to set up this photo frame or you may face some problems such as connection problems, or slow framework of this device, and so on. This can get frustrating if you have no one to help you through this which is exactly why we have written this article. Our guide will help you understand some of the basic common reasons so that you can carry out your Aluratek digital photo frame troubleshooting to fix the issues.
An outline of this article is that while troubleshooting the Aluratek digital photo frame, the main issues are generally poor internet connections, glitches, and software bugs that can be fixed by resetting the device. Usually, different error codes are displayed and the issues happen according to the different components being affected.
Let us now discuss some of the common reasons in detail below
How to do Aluratek Digital Photo Frame Troubleshooting
Table of Contents
- 1 How to do Aluratek Digital Photo Frame Troubleshooting
- 1.1 1. Aluratek Digital Photo Frame Is Not Connected To The Internet
- 1.2 2. Aluratek Digital Photo Frame Screen Freeze
- 1.3 3. Aluratek Digital Photo Frame Is Not Switching On
- 1.4 4. Aluratek Digital Frame Turning On And Off
- 1.5 5. Faulty Speaker
- 1.6 6. Aluratek Digital Photo Frame Blank Screen
- 1.7 7. Aluratek Digital Photo Frame Unable To Transfer Files.
- 2 Conclusion:
Aluratek digital photo frames offer a seamless way to showcase your memories, but like any technology, they may encounter occasional issues. This guide aims to help you troubleshoot common problems and ensure a smooth experience with your Aluratek digital photo frame.
1. Aluratek Digital Photo Frame Is Not Connected To The Internet
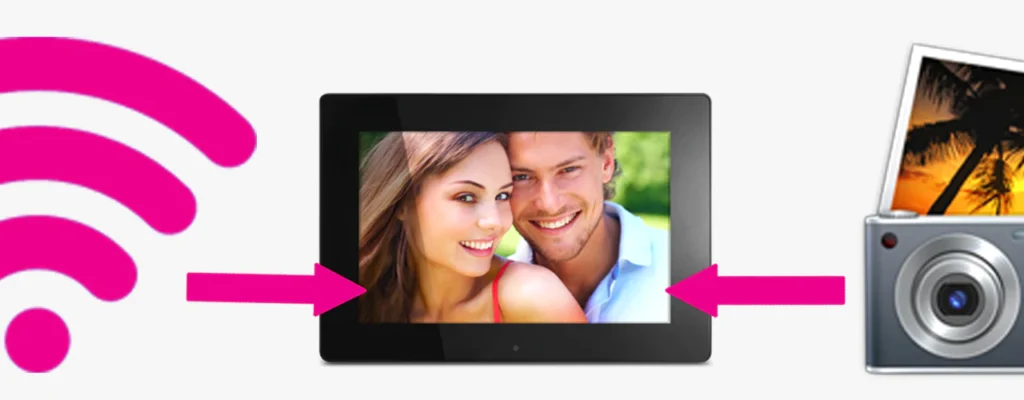
This is one of the first reasons you should consider if you are trying Aluratek digital photo frame troubleshooting. When you notice that the device is not displaying the pictures properly, or it is not able to connect to the wireless connection, it is time to check your internet connection. To fix this problem, make sure to check the internet settings and whether the connections between your Wi-Fi router and network are stable.
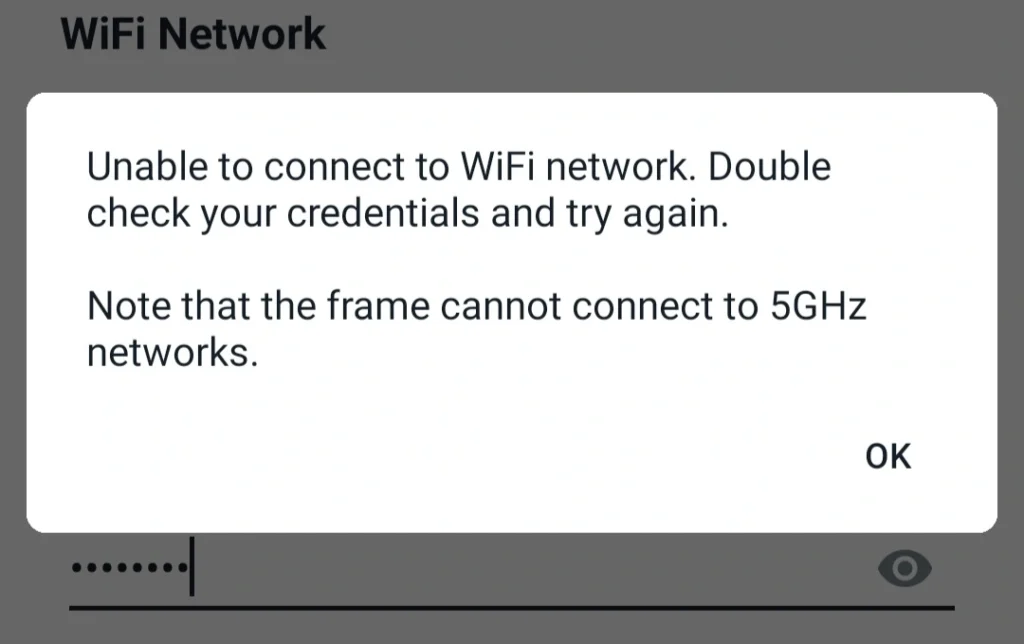
Check for any issues with your home internet connection. You can try relocating your Aluratek digital photo frame closer to the Wi-Fi connection in case the distance is the issue.
2. Aluratek Digital Photo Frame Screen Freeze
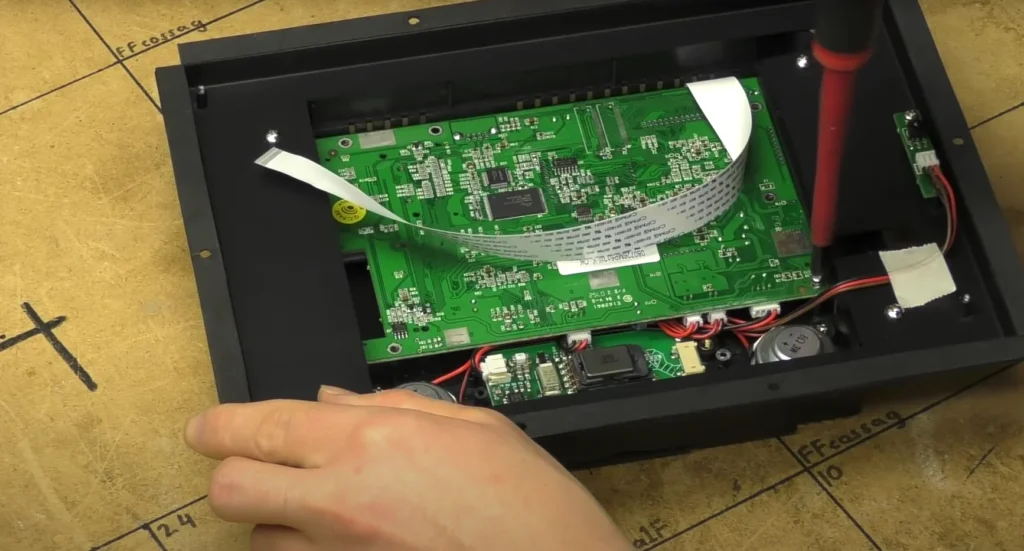
The next problem you may face while using this device is the sudden screen freeze that may occur as you are going through your picture gallery or viewing different photos. If you notice frequent screen freezes, it could be due to random glitches and software bug issues. To fix this problem you can restart the device by doing a simple power cycle step. Power cycling will simply reset the device settings and try to get rid of any unnecessary glitches or bugs in the software so that your device can now run smoothly.
A simple way to reset is to unplug the power cord and remove the batteries and memory card for at least five minutes. After waiting, you may replace the batteries and memory card and switch the device on by holding down the power button.
Another method that you can follow to reset the Aluratek digital photo frame is below. Follow these steps properly:
- Hold down the Power on the button to switch on the digital photo frame
- Now press the menu button
- You can now press the up and down arrow keys to adjust the different settings of the photo frame.
- Once adjusted, press the enter button.
- Now use the arrow keys again to navigate down below to the different options available and choose reset to restart the system.
3. Aluratek Digital Photo Frame Is Not Switching On
Sometimes when you are troubleshooting the Aluratek digital photo frame for problems, you may overlook a simple cause of loose connection between the power cord and the photo frame.
Due to this, the photo frame may not switch on so ensure that you have fixed and secured all the wirings and connections.
4. Aluratek Digital Frame Turning On And Off
This is another problem that you may face when using this device. Some of the models of Aluratek digital photo frames are equipped with a built-in feature that helps to save power. This is the power-saving mode which leads the device to turn on and off according to how it is being used. Sometimes when the battery is low or about to drain, the power mode may be switched on causing the photo frame to turn off. Additionally, there may be a set timer which may be causing the device to switch on and off on its own.
To fix these issues, you may want to navigate to the settings option to adjust the timer settings as well as the power mode settings.
5. Faulty Speaker
If you are still trying to do the Aluratek digital photo frame troubleshooting to find an issue, you may often face the problem of a faulty speaker. This means that if your speaker is not working, you may be unable to hear any sound or audio. This usually happens because of dust buildup or debris blocking the speaker system. To solve this, you may want to gently clean your speakers by using a soft anti-static brush.
Another reason for a faulty speaker could be physical damage by dropping it onto the floor so assess your speaker carefully for any visible damage. In case the damage is permanent, you will have to get it fixed by a technician or replace it entirely with a new one.
6. Aluratek Digital Photo Frame Blank Screen
If your Aluratek digital photo frame is showing a blank screen while troubleshooting for problems, you may need to check your memory card placement. This memory card is important for displaying the media properly on the screen which is why it should be carefully inserted in its position.
Also, make sure to check the USB connection to the device so that it is secured and safe from any loose connections as this may also cause the screen to appear blank. This USB connection is usually important when you want to add pictures to the photo frame from your computer. There may be issues while doing this transfer so it is important to understand the right way of transferring files using a USB. Follow the steps below for successful USB file transfer:
- Use a USB cable to connect your computer to the Aluratek digital photo frame.
- Now open your files and locate the folder that has the photos, videos, and media. You have the option of opening this folder on the computer or in the photo frame itself.
- Now copy and paste the photos to the new desired location. Alternatively, you may also drag and drop the pictures if you want to.
- Once the pictures are transferred successfully, click on eject or safely remove hardware. This will disconnect the USB from the computer and you may pull away the USB cable.
Moreover, sometimes due to viewing high-resolution media and pictures, there may be a slight time delay before the picture is fully displayed on screen. During this time interval, the screen may appear blank which is no reason to worry. You can simply wait for some time to see whether the picture appears eventually.
7. Aluratek Digital Photo Frame Unable To Transfer Files.
When you are troubleshooting your Aluratek digital photo frame for issues, this is another problem you will come across. It is related to another cause mentioned before which is poor internet connection. When you have a poor internet connection it may cause your Aluratek frame to not receive pictures as the Wi-Fi connection is slow. This may also show up as an error code reading ‘File not found’ constantly. This is due to the issues of image sizing and poor compression of the pictures. To fix this problem, you have to reduce the file size so that the transfer can happen faster and more efficiently.
To reduce the file size you will have to follow the steps below:
- Firstly, download an application called Xnconver for resizing the images.
- When downloaded, launch the app.
- Go on ‘add files’ present on the input tab
- Now click all the pictures and files that you want to resize
- Select the option ‘resize’ and change the dimensions accordingly. The generally accepted sizes are 800 x 600, 1600 x 1200 and 1024 x 768
- Once you have adjusted the dimensions, select the location you want for your resized files.
- In the format bar, Click on the dropdown box to select JPG-JPEG/JFIF
- Lastly, tap convert to reduce the file size as required.
Conclusion:
We have finally discussed all the possible reasons and issues that you may have while troubleshooting your Aluratek digital photo frame for any problems. It is important to note that we have simply described the basic common problems that customers face on a general basis while using this device. If there is any problem or issue that is not addressed in this article or if you are constantly facing an unidentified issue, you may proceed to contact customer service. We hope that our article was able to help build a brief understanding of the different problems customers face so that you are not completely blank when an error occurs.